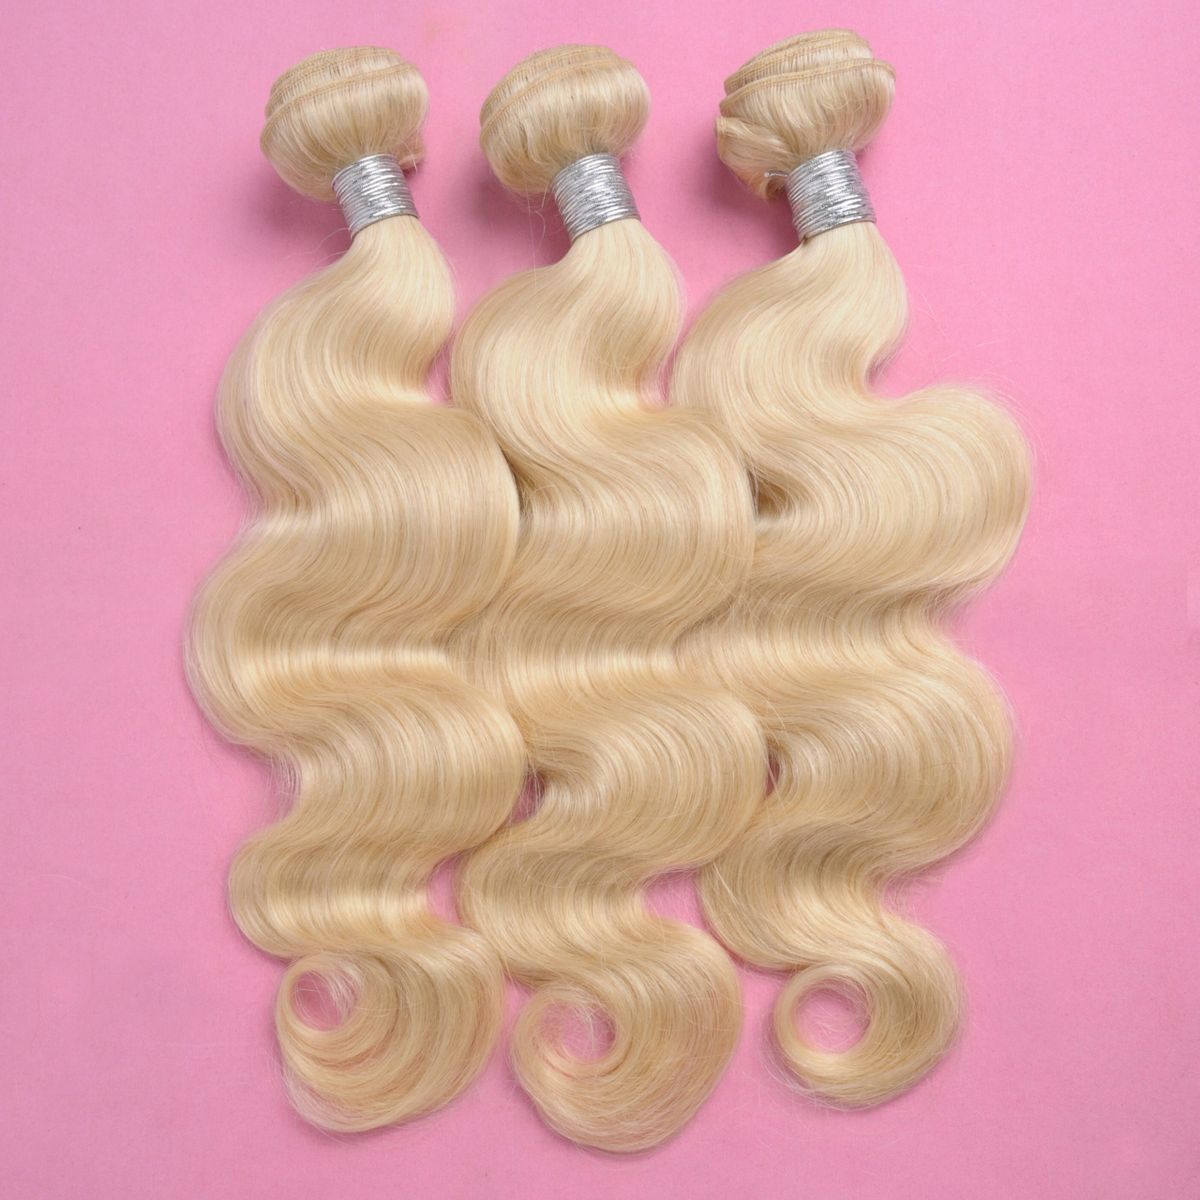
The amazing thing about natural hair is that you can easily switch up your style to rock braids, locs, twists, sew-in weaves, and more. And what’s even better is that if done right, these protective styles won’t damage your hair and will allow for growth!
Read on to learn more about sew-in weaves, what to expect during an appointment, and more.
What are sew-in weaves?
Sew-ins are a weave that is actually sewed into your natural hair using a needle and thread. To start out, your natural hair is braided down into cornrows and then your stylist will sew your extensions of choice onto the cornrows. Unlike glue-in weaves, sew-ins are a great low maintenance option because your natural hair is tucked away which means you won’t have to worry about it peeking through.
As with all protective styles, if done correctly, sew-in weaves give your natural hair a break from the constant washing, styling, and brushing that can typically result in breakage and dryness. So, if you’re transitioning to embrace your natural texture or are trying to grow your hair out, sew in weaves are a great option.
The price of sew-in weaves varies from stylist to stylist, but they usually cost anywhere between $100 to $600 for the install process. Keep in mind that you will also have to spend money on the actual extensions as well which all depend on how long and what the quality of them are. Extensions for sew in weaves typically cost between $80 and $600.
Usually, sew-in weaves last anywhere from six to ten weeks as long as you’re taking good care of it. Here are a few tips to ensure your sew-in will look good as long as possible:
- Purchase good quality extensions that won’t break off or shed.
- Go in often to have your sew-in tightened.
- Make sure to cleanse your scalp weekly or biweekly. Product buildup, debris, and excess oils can cause scalp irritation and itching. If you’re washing your sew-in at home, always use a sulfate-free shampoo that won’t dry out your scalp or natural hair. When you’re cleansing, lift the extensions at the base so you can wash underneath the braid. Also, always allow your entire head (even your braids) to dry fully. Otherwise you run the risk of growing mildew or fungus on your scalp. Yuck.
- Oil is your new best friend. Having your natural hair braided and extensions in for a long period of time can dry out your scalp and cause dreaded itching. Itching your scalp can cause your braids to loosen. To avoid this, oil your scalp daily (or as often as you need to). This will not only relieve dry scalp, but it will also help keep your sew-in shiny and soft.
- Brush your hair daily to ensure there are no tangles or knots that can ruin your sew-in.
- Preserving your sew-in while you sleep is key to get the most out of it. Make sure to sleep on a silk or satin pillowcase and always wrap your hair up in a satin scarf to prevent pulling, breakage, and tangles.
What to expect during an appointment
First things first, sew in weave install appointments take a loooong time—so make sure to pack some snacks and get ready to be in the chair for at least three hours even going up to six hours. The length of your appointment is based on your hair length and texture but It’s basically an all-day affair. After braiding your natural hair down, the stylist will then start using a needle and thread to literally sew the extensions into the braids. If this is your first time getting a sew-in, your stylist should walk you through how to take care of it properly and how often you should be coming in to get your sew-in tightened.
Do sew-ins damage your natural hair?
If sew-ins are not properly installed, they can definitely damage your natural hair. Also, if they are not properly taken care of, damage can also occur. This is why it’s super important to go to a stylist that is experience in installing sew-ins and knows what they’re doing. Make sure to ask your stylist how to care of your sew-in weave and let them know if you’re feeling excess tension from the extensions. While it’s normal to feel a bit of tightness and tugging when the extensions are first sewn in, you shouldn’t feel any extreme tension after a day or so. This could mean that the extensions are too tight and can cause breakage and even traction alopecia.
Sew-in vs. glue-in weaves
A glue-in weave is done by using an adhesive to physically glue extensions onto the natural hair or protective hair cap. Glue-in weaves are better for people wanting a short-term weave option when compared to a sew-in because they only last about one to two weeks. Since they last longer, the install process for sew-ins is much longer than glue-in weaves because you need to braid the natural hair first. Like sew-ins, you can also damage your hair with glue-in weaves if they are not installed or removed properly. To avoid this, go to a professional and ensure that they’re using a high-quality adhesive to install the extensions. Also, when removing a glue-in weave, be extremely careful and use a glue remover so that you don’t damage your hair.
How to remove a sew in weave
As with anything relating to your hair, it’s always best to see a professional stylist to remove your sew in weave but if you need to do it yourself at home, you definitely can!
Divide your hair in sections using the rows on the sew-in as your guide. Separate the first row starting at your neck and tie back the rest of your hair. Take a pair of scissors (be super careful with this!) and start cutting the thread in the braid. Make sure to avoid cutting your real hair and the extension should just pull away.


