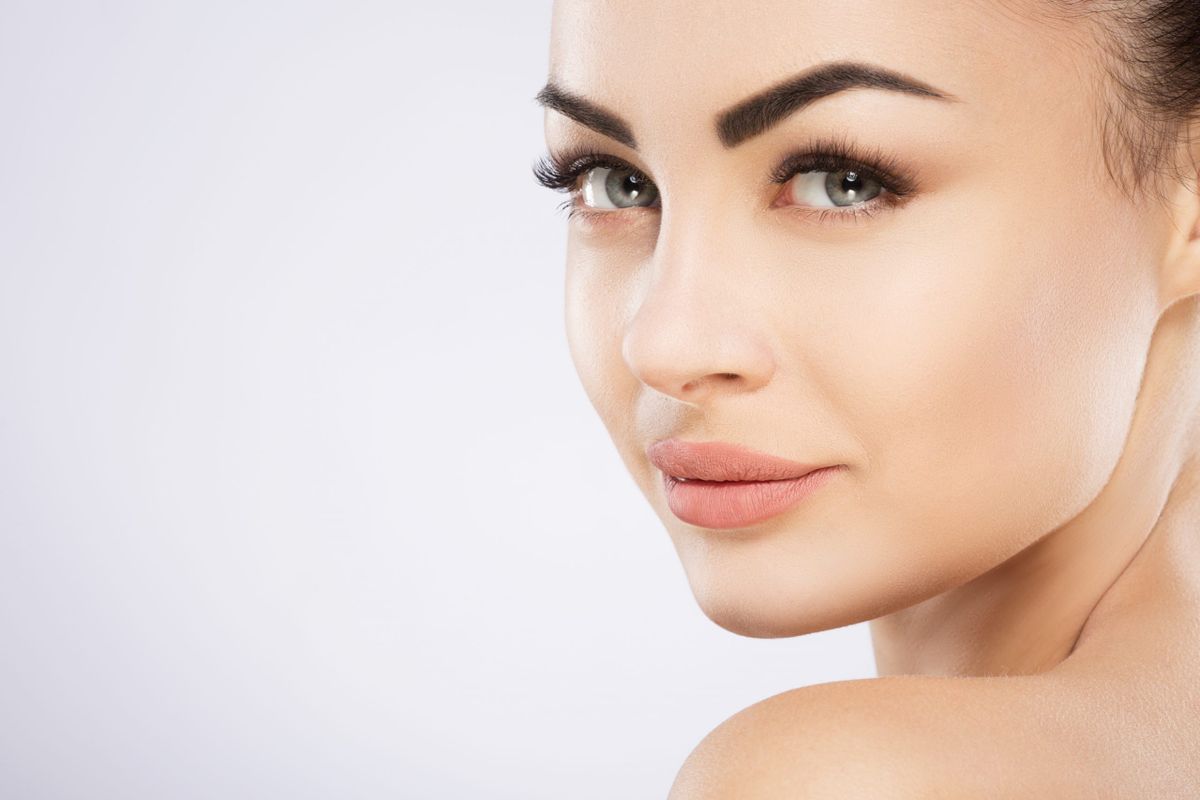
Arched eyebrows are the perfect accompaniment to any makeup look and even accentuate a bare face beautifully! However, a lot of us struggle with perfecting arched eyebrows at home without breaking into a sweat! I have to admit that creating a perfect arch without it looking too dramatic is an arduous task indeed! But do you know why it is so hard for most of us to fill in our brows? It is because we are often unaware of where our arch should lie as per our face shape! Yes, there is no single brow shape that suits all faces, but there are ways to master arched brows for your face shape. Today, I will be disclosing the expert tips from brow stylists that will help you create arched eyebrows with ease!
Mapping The Brows
A common mistake that we often tend to make with brows is that we don’t define their boundaries properly. Bringing in your brows too close to the nose or creating an arch that doesn’t lie at the natural high point of the brows can make your brows look weird. Fortunately, Benefit Cosmetics, one of the leading brands when it comes to brow products, has shared a quick and easy way to map your brows. This trick works across different face shapes, and if you use it to define your brow boundaries, your brows will come out perfect every single time.
All you need for mapping your arched eyebrows is a piece of thread and an eyebrow pencil. First, place the string along the length of your nose such that it touches the inner edge of your nostril. The spot at which the thread hits your forehead should be the starting point for your brow. Now, place the string at the outer edge of your nostril and stretch it towards the middle of your eye. The spot at which it hits your eyebrow is the highest point of your arch. Then, stretch the string from the outer edge of your nostril to the outer corner of your eye. The spot at which the thread hits your brow line is where your brow should end.
Mark the three points lightly with the help of an eyebrow pencil. Now you know where to start and stop drawing your brows to complement your face the most.
Filling In The Brows
Now that you have defined the boundaries and high-points of your arched eyebrows, you can start filling them in. First, tackle the sparse areas of the brow with a micro-lining pencil. The fine tip of the pencil will allow you to create thin lines that look like actual hair. Use gentle, short strokes for a natural finish, and don’t draw the lines too close together. To define the arch better, draw the hair slightly above your natural hairline at the center of the brows. If you have dense brows then you can either skip this step or can simply draw a few hairs at the boundaries to define them better.
If you are looking for a good-quality micro-lining brow pencil, then my picks would be the ABH Brow Wiz and the Benefit Precisely My Brow. Willing to splurge a little more? Try the Christian Dior Diorshow Brow Styler Ultra-Fine Precision Brow Pencil. You will be blown away by the quality!
After the pencil, you can go in with a brow powder to make your brows look fuller and fluffier. Brow powders add a soft finish to the brows and make them look more natural. Make sure to take very little product as you only want to create a soft shadow with the powder. To define your arch further, start applying the powder slightly above the natural hairline when you reach the center of your brows. Your arched eyebrows should now look dense and fluffy without any harsh edges. For the best results, Benefit, ABH, and Milani have some lovely brow powders that you can try!
Setting Your Arched Eyebrows
Now that you have defined your brows and accentuated the arch, it is time to set your brows in place. You can use any brow gel of your liking for this step. First, to add some more volume to the brows, backcomb your brows a bit with the spoolie. Then, set them with upward and outward strokes to create a feathery look that defines the arch further. You can even make use of the latest trend of soap brows for this step. Yes, you can use soap to set your brows instead of brow gel or mascara! Simply use a clear soap with a spoolie to set your brows in place. I have tried out this hack at home and it actually works! Your brows will stay in place all day long and will look so well-defined!
How To Make Your Arched Eyebrows Pop!
If you want your arched eyebrows to pop, I have a few more tricks for you! For that instant definition, add a shimmery highlighter right below the brow at the center of the arch. This will create the illusion of lifting the arch and will make your brows look sharper. A more permanent way to define your arch is to tweeze out the hair at the bottom of the arch to give the brow a more lifted appearance. If you visit a brow groomer, then you can ask them to wax or thread your brows to make the arches more prominent. An experienced brow groomer will be able to define the arch with ease!
I will end this article by reiterating a cliché – your eyebrows are sisters, not twins! Trust me! If you try to match your arched eyebrows to each other, you may end up with less than satisfactory results. Instead, map the boundaries of both your brows individually using the Benefit method and fill them in accordingly. The result will be way more flattering. The two halves of your face are not 100% symmetrical, which is why you don’t need identical brows. If you map your brows correctly as per the respective sides of your face, the brows will complement your face structure so much better!
It may sound complicated, but these fabulous tricks for filling in your brows are super simple and deliver results! You probably wouldn’t want to do your brows any other way after trying out these steps! So, what are you waiting for? Hop on the arched eyebrows bandwagon today!
*This Article contains affiliate links