Acrylic nails add length and glam to your look for weeks on end but when it comes to removing them…that’s where it can get tricky. Many people don’t know how to remove acrylic nails properly so they either just end up getting them taken off professionally (which is your best option) or ripping them off, leaving the nails damaged.
If you can’t make it to the salon but are unsure how to get acrylic nails off the right way, keep reading! We’re breaking everything you need to know about how to take off acrylic nails with little to no damage.
Acrylic nails are a combination of powder and liquid monomer that form to your natural nails. They are meant to last for weeks without breaking, so you can understand where it gets a bit tricky when you want to remove them.
If you speak to any nail tech, they’ll most likely recommend you go to a professional to take off acrylic nails, but sometimes you just don’t have the time (or energy) to drag yourself into the salon for the removal process! If you do opt to remove your acrylic nails at home, it’s super important that you do it the right way to avoid any possible damage to your natural nails.
Just a fair warning, this process can take a while and requires patience but it’s totally worth it so that your natural nails don’t peel, rip, or even bleed! Just think of it as a self-care moment—put on your favorite show, grab a glass of wine, and get to work!
Tools
To safely remove acrylic nails without the help of a professional, you’re going to need a few tools—most of which you probably already have in your arsenal.
- Nail clippers (these Tweezerman nail clippers are great for cutting thicker nails like acrylics)
- A 100-grit nail file (if you can find a file that has two grits, that’s even better)
- Pure acetone (this is a necessity and regular nail polish remover just doesn’t cut it)
- A cuticle pusher
- Cotton balls
- A small bowl
- Foil
You can find all of these items easily at your local drugstore or on Amazon if you don’t already have them in your collection.
How to take off acrylic nails (the right way)
Like we mentioned earlier, it’s extremely important that you have patience and take your time when removing acrylic nails. You could not only end up damaging your nails, but you could even hurt yourself!
You’ll want to start by setting up a little station by folding a hand towel in half and placing a paper towel on top. Because you are going to be using harsh acetone, make sure to properly cover your workstation so your counter or tabletops don’t get ruined. In these 6 easy to follow steps you will learn about how to remove acrylic nails at home:
Step 1:
Using your nail clippers, cut down your acrylic nails as much as possible to remove the length. Cutting off the length of the acrylics is the easiest way to get down to the length of your natural nails and will ultimately make it that much easier to remove the acrylics.
Step 2:
Start filing, but not the way you’re used to. Instead of filing along the top edge of your nail, lay the file flat and buff off the product sitting on top of the nails. It’s important to use a coarse file for this to really get down to the surface level of the acrylics. Just be careful not to cut or scrape the skin around your nails or cuticles!
Step 3:
After you file off that top layer of product, you’re going to want to start soaking in acetone. FYI, the fumes from acetone can be a bit harsh so it’s best to have a fan going or open up a window.
There are two different methods to soaking in acetone.
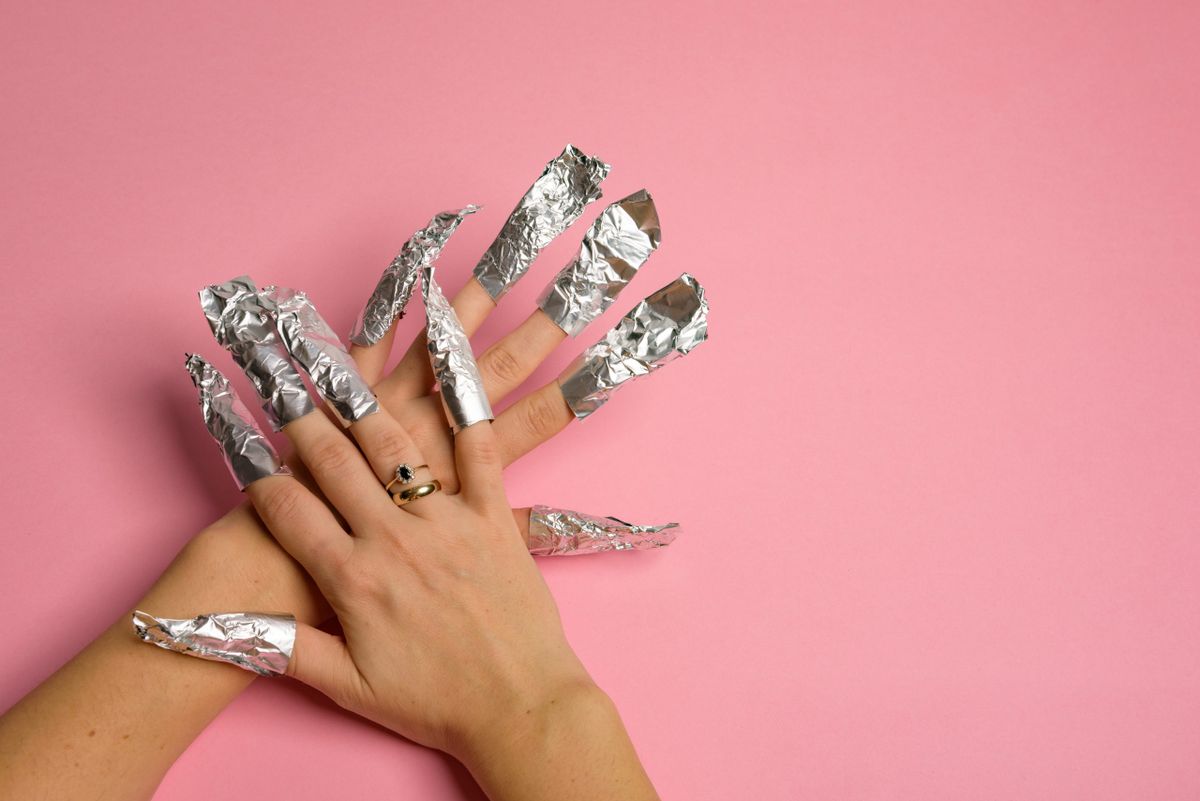
- For the first method, you’re going to need cotton balls and foil. Dip a cotton ball in acetone and place in over the acrylic nail. Then, wrap it super tightly with a small piece of foil. You can even squeeze it to make sure the cotton ball is on there tightly. You also want to make sure that the cotton ball is soaked in acetone. If you want to speed this process up, apply a hot towel on top of your hands. The heat will warm the acetone and make it work faster. You may have to do this more than once for it to be effective. Remember, patience is key.
- If you don’t have any cotton balls and foil to spare, you can simply pour acetone into a small bowl and soak your fingers in it for 20-30 minutes. When your hands are soaking, rub your nails to help the acetone work faster. If you choose to do this method, prepare for your skin to be dry afterward.
Step 4:
Once you can feel that the acetone has done its job and softened the acrylic, use your cuticle pusher to gently push the acrylic off of your nail. You’ll want to start at the cuticle and work your way up to the top of your nail. If the acetone soak worked, you won’t have to apply a lot of pressure to remove the acrylic. If it didn’t, you’ll have to soak again.
Step 5:
After removing the acrylic, file and buff your nails with a gentler file. This will help to shape your natural nails and smooth out any roughness that may be left behind after removing the acrylic.
Step 6:
Acetone is harsh on the skin and nails so it’s likely that they’ll feel super dry after this process. Make sure to use a cuticle oil on your nails and cuticles to prevent any cracking or bleeding. Use a hand cream daily to keep your hands and nails hydrated!
Even with the utmost care and patience, this process is still super harsh on your nails so it’s probably best that you skip out on any polish, acrylic, or gels for a few weeks. This will help your natural nails strengthen for the next time you head to the salon!
Vualá, now you know how to remove acrylic nails at home!