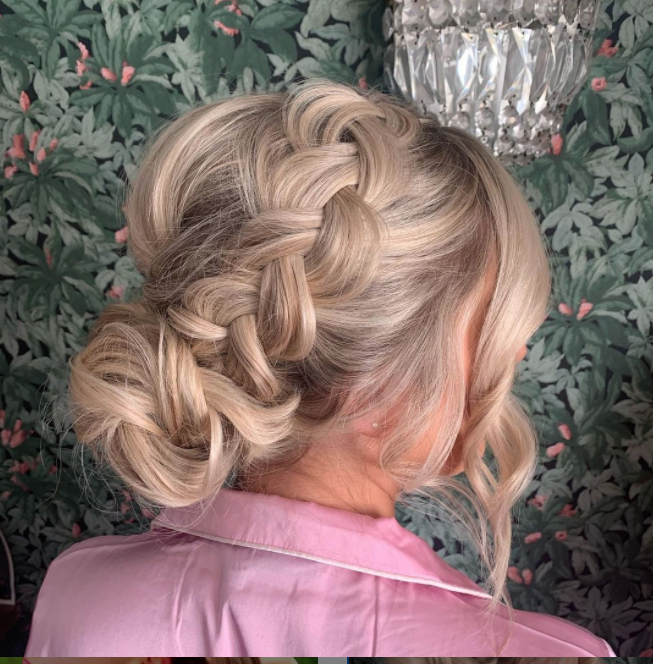
When it comes to hairstyles, there are just some certain classics that will never go old. As a connoisseur for all things chic, stylish, and trendy, this hairstyle is just worth adding to your fashion arsenal.
Of course, we’re talking about the classic Dutch braid.
Braids will never be out of the picture when it comes to hairstyles, especially the Dutch braids. They’re always going to be fashionable and practical in every sense. Don’t believe us? Well, the history of braids goes way back to 3500 BC. So if it’s still existing up until now, it’s going to exist forever.
A brief history of Dutch Braids
Dutch braid, or dutch braids, are hairstyles that originated in the Netherlands. These kinds of braids are also known as cornrow braids when cornrows are executed on hair.
The name dutch braid comes from the dutch immigrants who have settled in America during World War II. They’ve brought along their beloved braiding technique which is how dutch braids became popular in American culture.
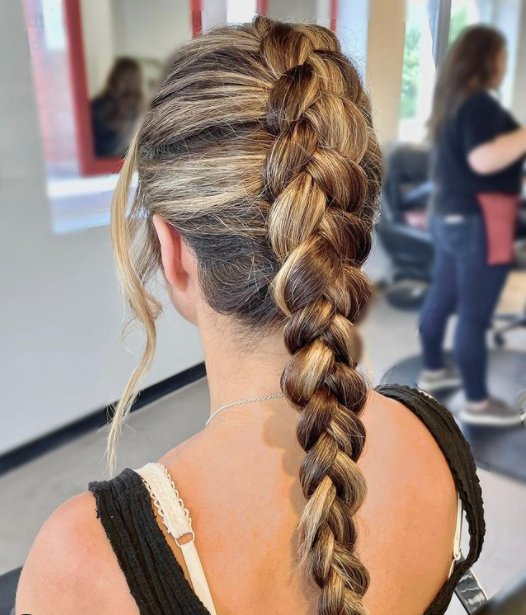
What is a Dutch Braid?
A Dutch braid is essentially a very specific type of arranging hair into thin simple or complex patterns using three separate strands of hair in each hand. This pattern may be staggered or woven into one another in order to form designs that are complex in appearance.
A dutch braid is unique because it’s very simple yet elegant once you get the hang of it. It requires no skill at all, pretty much anyone can do these braids on themselves or their family and friends.
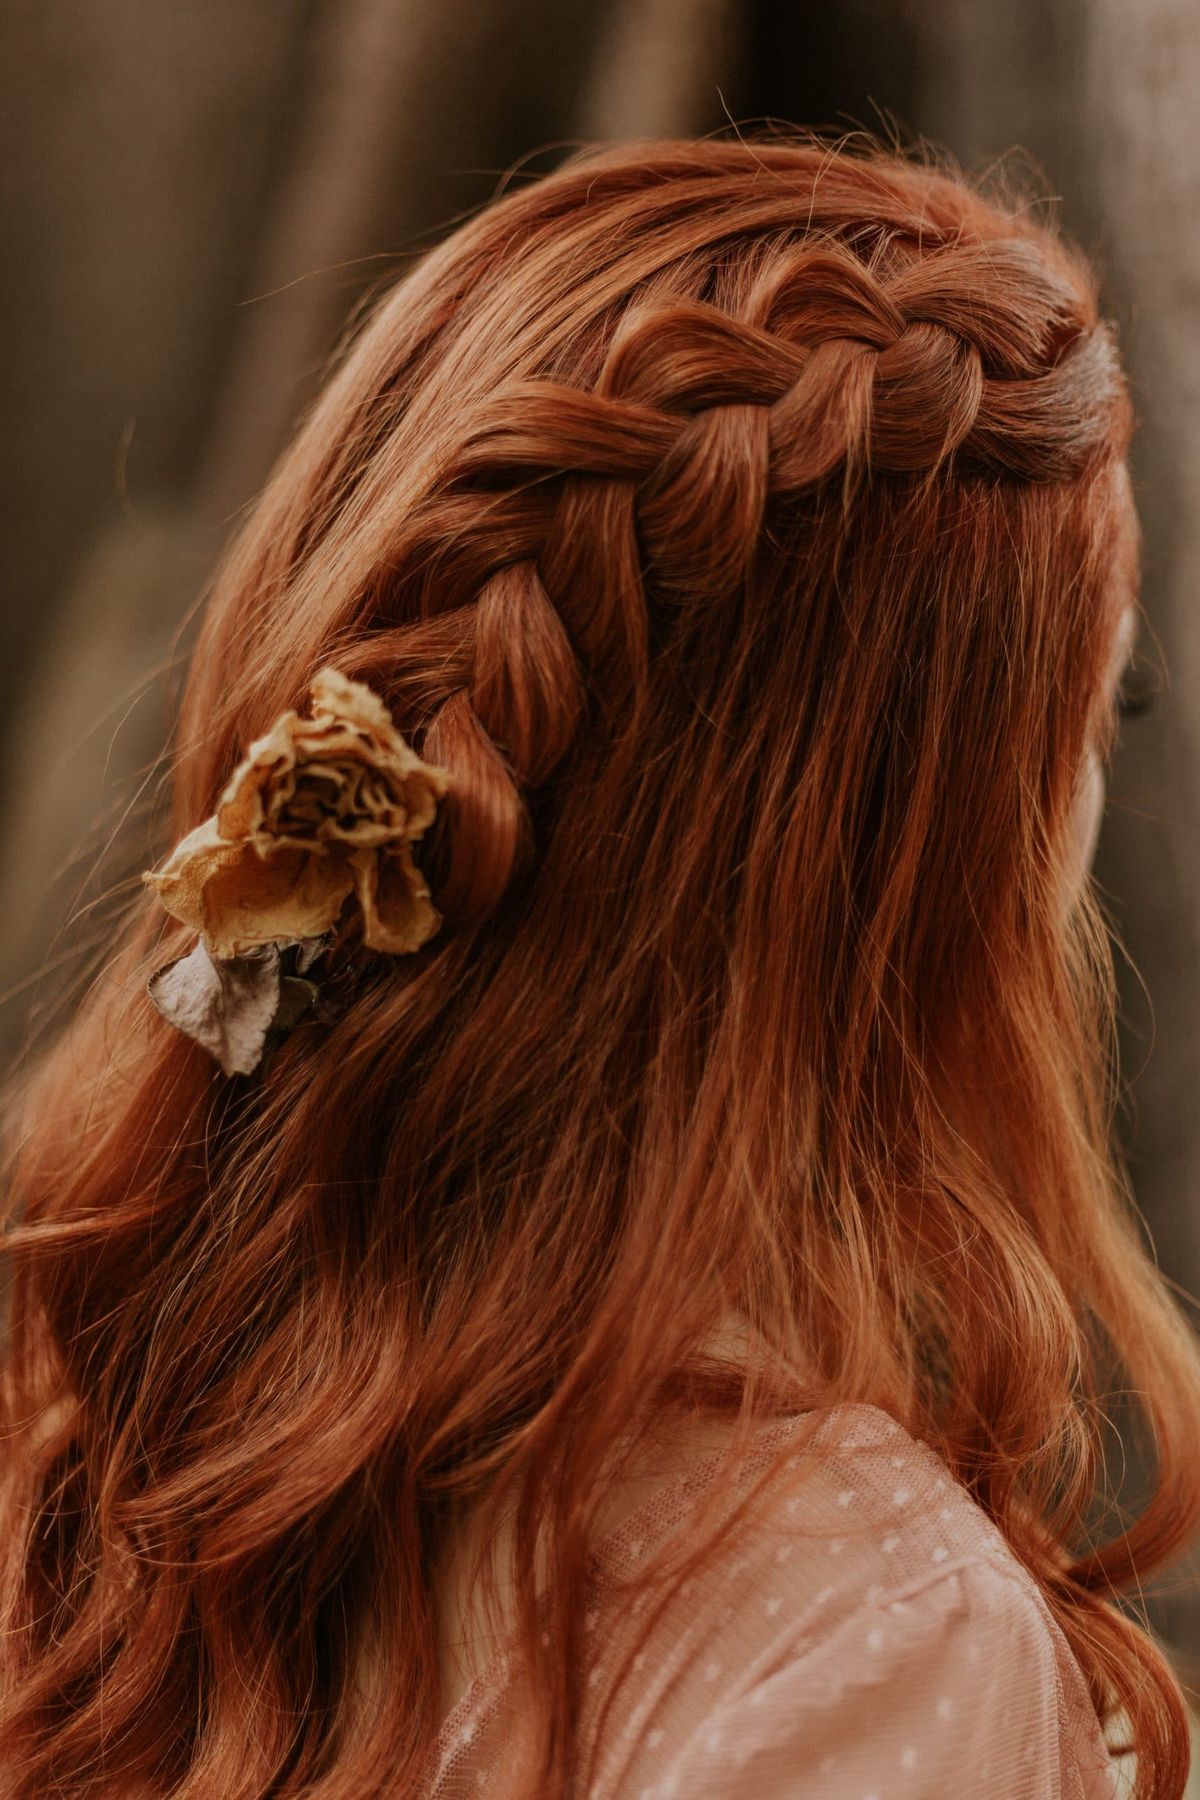
So if you want a hairstyle that is pulled straight out from a fairytale, you can never go wrong with braids. It’s really a foolproof option if you want something that looks elegant, this style suits everyone and is quite easy to replicate.
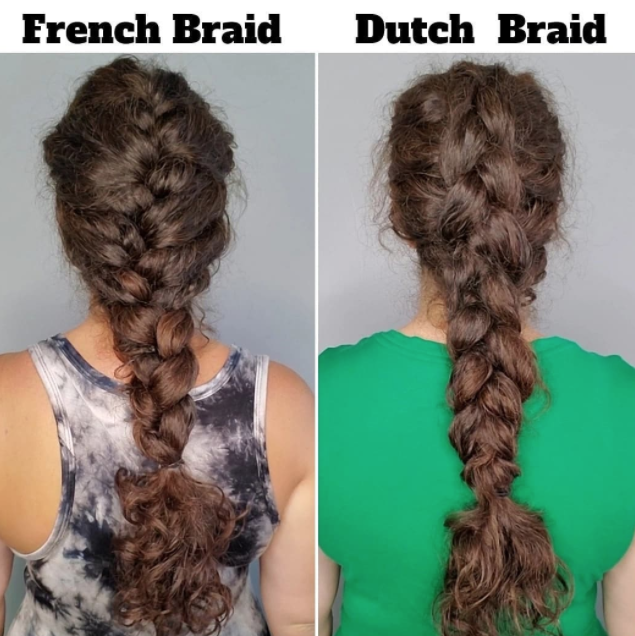
Dutch Braid vs French Braid
Okay, we’ve talked about dutch braids and how it’s the perfect hairstyle for any occasion. But what else is better than dutch braids? French braids! Well, not exactly but there are some similarities when it comes to these two very stellar hairstyles. French braid is just a classic regular braid.
They both have patterns that don’t require much skill to complete. They’re both very easy to do, albeit dutch braids are a bit more complex compared to french braids.
But these two differ when it comes to aesthetics. The dutch braid is more intricate and complex than a french braid, mostly because they have more strands of hair intertwined with each other as opposed to french braids which usually have three to four strands at most.
Ready to learn how to create a Dutch braid? Here’s a step by step guide to get you started braiding:
Step One: Prep Your Hair
Like any other hairstyles, you need a good canvas to work on. So brush out any tangles on your hair to make the braiding process as smooth as possible. While it’s okay to braid your hair wet, it’s highly recommended not to do so because your hair is at its most fragile state when it’s not dry. So do the extra minutes to dry your hair.
You can also prep your hair with a light gel or pomade to help your Dutch braid maintain its sleekness, hold and avoid any stray hairs. Because we all know how frustrating it is to manage your hair and the strands go crazy. Just keep practicing until you achieve muscle memory and these braiding techniques will become automatic.

Frizzy hair is a pain and is hard to manage. This leave-in conditioner spray will tame frizz, detangle and restore your hair’s softness, strength, manageability, and moisture levels while acting as a barrier against humidity. Plus it's vegan & cruelty-free!
Step Two: Part Your Hair
One thing that sets apart Dutch braids from other types is that you’re braiding all the way from your root instead of just the length of your hair that’s past your head.
Starting at your hairline, grab three strands of your hair about half an inch or less. The thickness of your sections will determine the overall thickness of the braid.
Step Three: Secure Your Starting Braid
A common mistake when doing a Dutch braid is doing the same braiding technique as a French one. Remember that a Dutch braid is the opposite of a French braid, so all weaving goes under rather than over.
To secure your braid, start first with the right strand. Weave it under the middle section and the left section is crossing under that.
Step Four: Right-Under-Left-Under
Remember to weave the right strand under the middle then the left strand crossing under that. That’s the basic weave for Dutch braids.
Now once you anchored your braid, time to start gradually add hair to your strands. This step is quite simple. Just add some hair from each side before you work it under. Do this repeatedly every time you braid a new section.
Remember to always maintain tension as you go on braiding. You can always loosen your braid once you’ve finished but you have to start over again if you want it tighter.
Step Five: Rinse and Repeat
Just repeat the same process until you’ve reached the nape of your neck. Once you do, switch the braiding style to the regular three-strand braid. Secure your hair with an elastic band and you’re good to go!
You can leave it as it is or make some adjustments until you’re satisfied. If you want that loose, feathery type of Dutch braids, slightly pull the edges of the braid until you get that effect. If you want a sleek Dutch braid with a strong hold, lightly spray it with hair spray or an anti-frizz hair serum.
Now you’re done with your Dutch braid! It may take you a couple of tries and practice to do it to yourself but that iconic look is worth it.
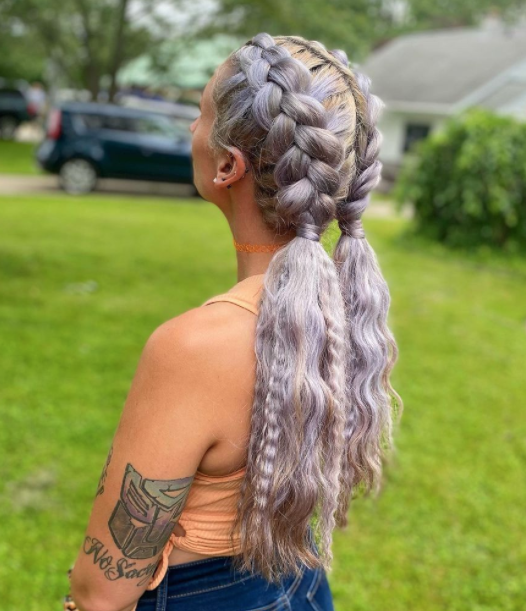
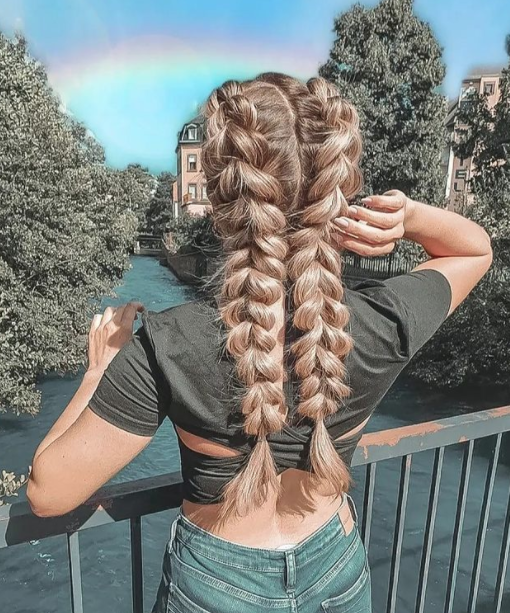
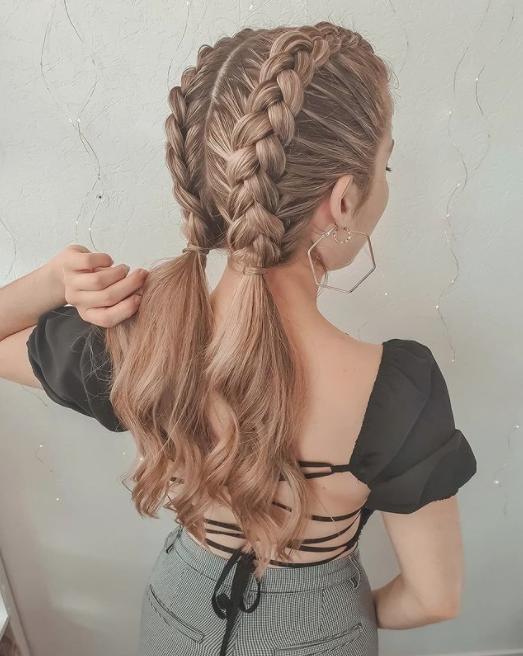
Double Dutch Braids
Of course, there’s more to Dutch braids than just a single middle braid. You can also do a double braid on your hair for a more youthful and whimsical look.
This hairstyle can be more manageable for others especially if you’re trying it on yourself. It’s essentially just two dutch braids on you left side and right side and the same process but you’re doing it twice. No matter what your hair type is, try avoiding doing it on wet hair.
If you are looking for more volume or you have short hair, you might want to consider adding some clip in extensions to your own hair.
Step One: Prep Your Hair
Just like before, do the initial preparations to keep your hair ready for braiding. P.S. You can also spray some dry shampoo before your gel or pomade to keep your scalp refreshed.
Step Two: Separate Your Hair
Before you start your braid base, separate your hair into two equal sections. You can use your middle part as a guide.
We’ll work with your braids one at a time to secure the other section with a ponytail to keep it separated from the first braid.
Step Three: Braid Your Hair
Work with the first section first and start Dutch braiding it. Separate three equal strands of hair from the middle part of the section then start braiding.
Remember that you’ll still need to incorporate hair as you go so leave some hair on either side to grab. Once you’ve reached the nape of your neck, switch to the regular three-strand braid. Tie it off with an elastic and move on to the second side.
Step Four: Repeat On The Other Side
Remove your ponytail off the other section and do the same steps over again. A quick tip: as much as possible, keep the braid the same thickness with the other side. If you’re hardcore with your hairstyle, count the number of braids from the other side and match it.
Step Five: Adjust To Your Style
Now your double Dutch braid is done! Adjust to your style if necessary, add a couple of spritz of hair spray, or even go wild with your design by adding some ornaments. The possibilities are limitless.